
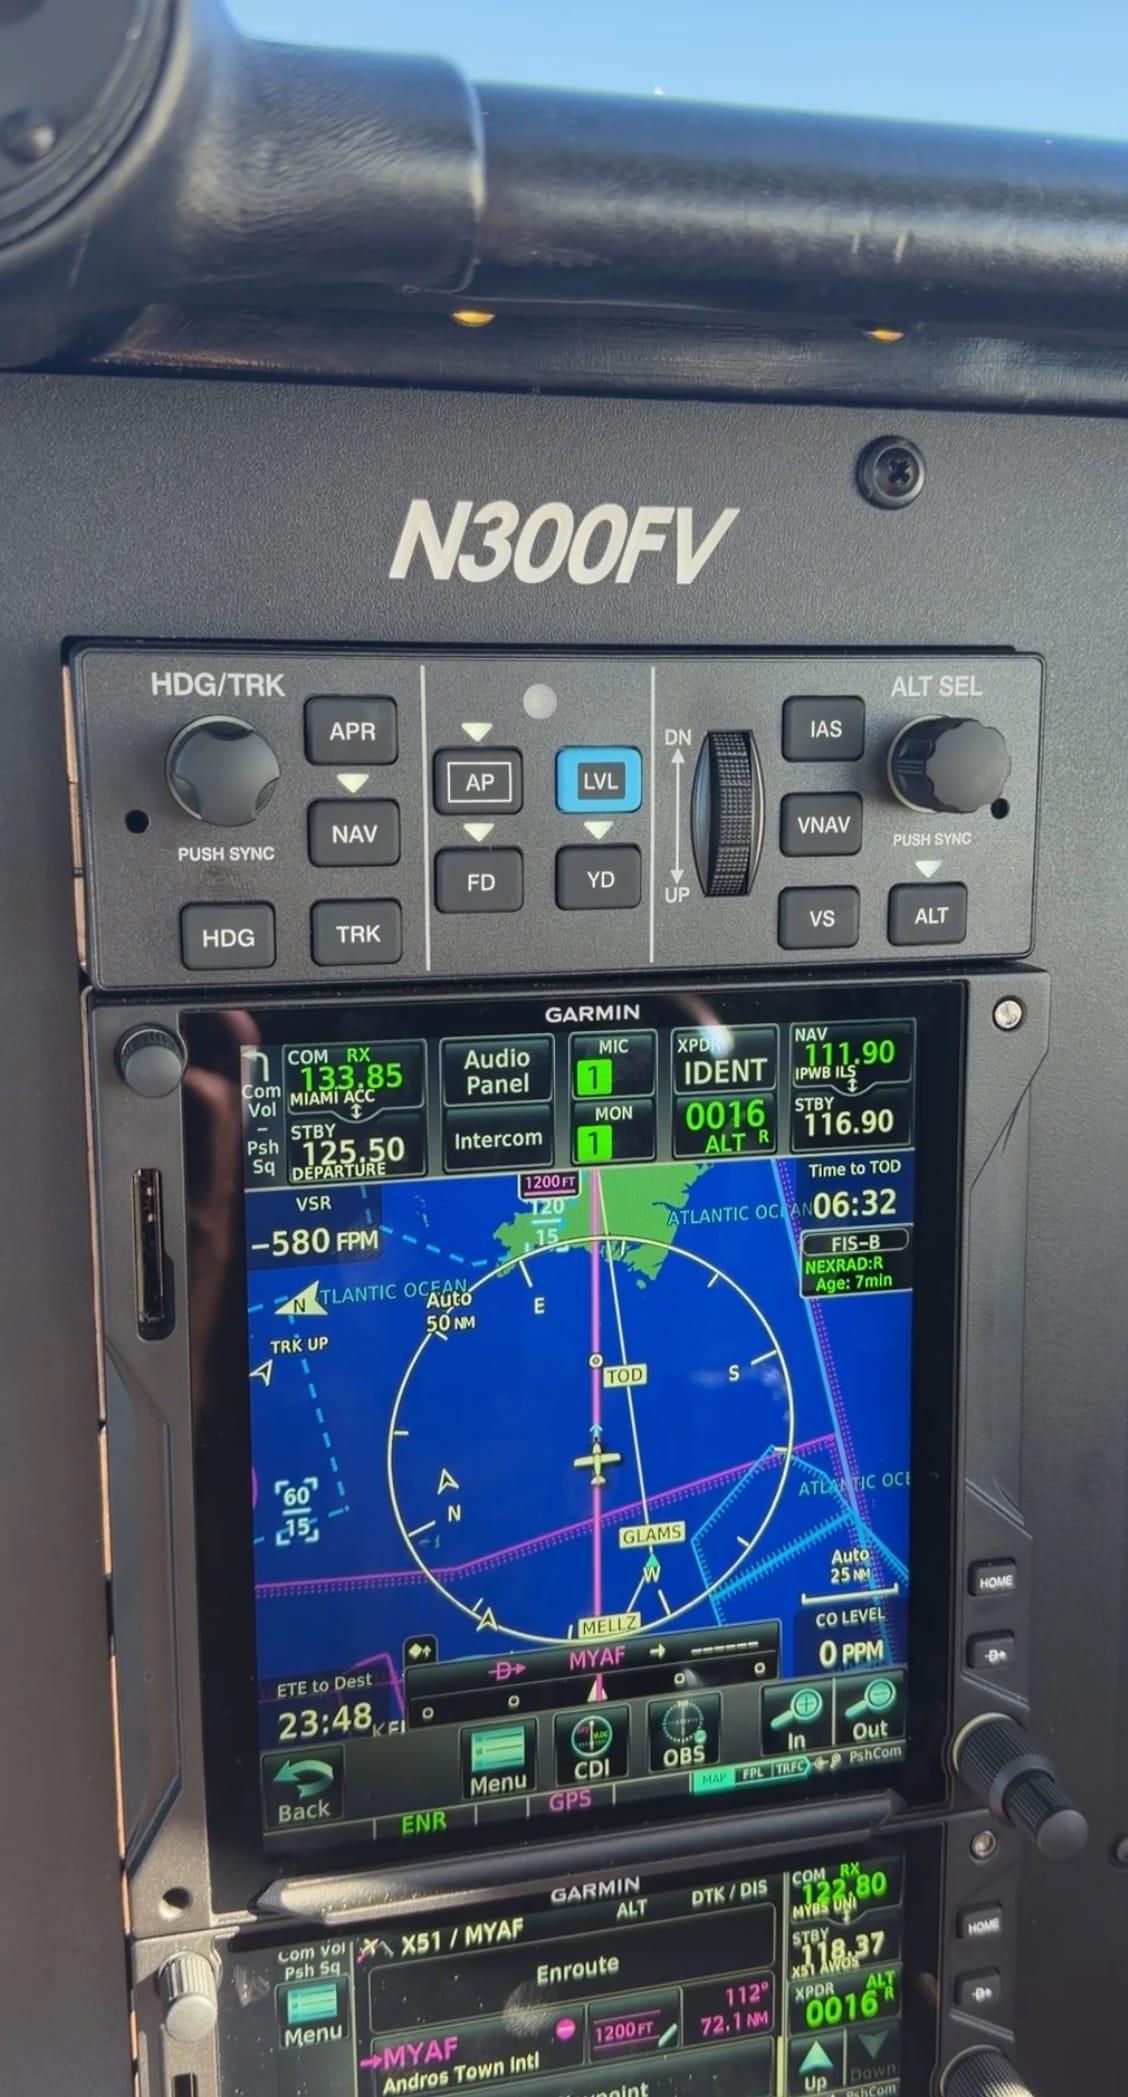
It's a project, not a parts swap
When people picture an avionics upgrade, they often imagine pulling one box out and sliding another in. Sometimes it really is that simple. More often, a modern Garmin upgrade touches the wiring, the panel structure, the pitot-static system, and the electrical load on your aircraft. Understanding the steps up front makes the timeline and the quote a lot easier to read.
The stages of a typical upgrade
A Garmin installation at our shop generally moves through these phases:
- Design. We map equipment to how you fly and lay out the panel before anything is ordered. Our panel designer helps you see the trade-offs.
- Removal. Old radios, indicators, and the wiring behind them come out. Legacy panels can hide decades of add-ons and splices.
- Fabrication. We cut and finish the panel, build wiring harnesses, and fit mounting trays.
- Wiring and integration. New harnesses are run, connected, and tied into the electrical and pitot-static systems.
- Configuration. Each unit is set up, calibrated, and given its software and databases.
Testing before you fly
No upgrade is finished at the last wire. We run ground checks on every system, verify the pitot-static and transponder work where it applies, and complete an operational check. Depending on the equipment, a short flight check confirms things like autopilot behavior and navigation source switching before signoff.
Paperwork counts
Legally, the logbook entries, updated weight and balance, and equipment lists are part of the job. Good documentation also makes the next shop's life easier and protects the value of your aircraft.
Want a realistic scope for your airplane? Request a quote and we'll walk you through what your specific upgrade involves.